Cells in Google Sheets are assigned with default height and width. While it works for most cases, when the content in a cell is larger than usual, you need to add spacing or padding around them.
In excel this is very much possible. But if you are coming from excel world to Google sheets, you will find this feature missing. There is no dedicated action option to change the cell padding but definitely, there are workarounds.
In this tutorial, we will discuss google sheets cell padding. We will discuss how to add them and remove them from your sheet.
Here is how to add cell padding:
1. Open google sheets on your computer
2. Select cells you want to change the padding
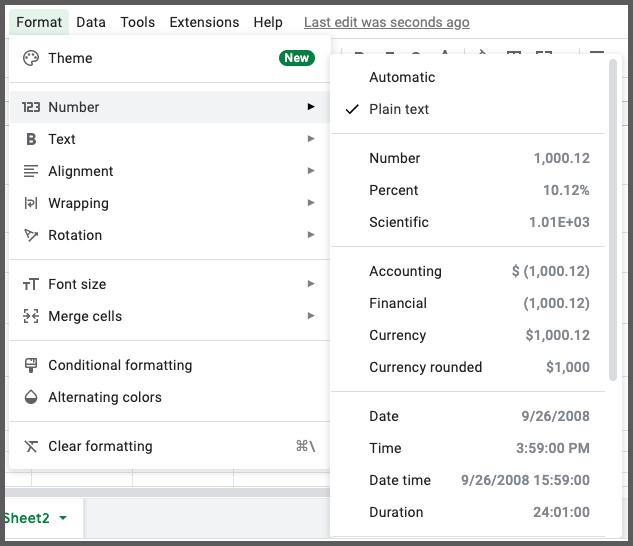
3. Click on Format > Number > custom number format
4. In the input field enter one space for every 1 unit of padding
5. After the required spaces, add @ symbol and click Apply
This will apply the left and right paddings to the selected cells. If you have added 2 spaces before the @ symbol, then google Sheets will add 2 spaces on both left and right sides of your cell value.
Here is a quick video showing this in action:
If you want to add top and bottom padding, you can do so by adjusting the cell height.
Let’s see both horizontal and vertical padding in detail with examples.
Here is a video explaining the concept:
Table of content
Google sheets cell padding – Horizontal cell padding
To add paddings at the left and right of the cell, follow these steps with visual directions.
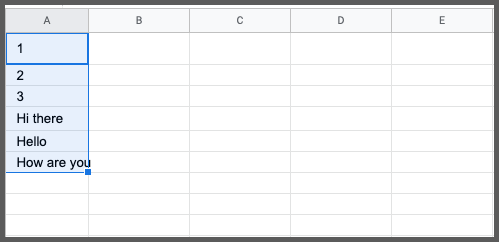
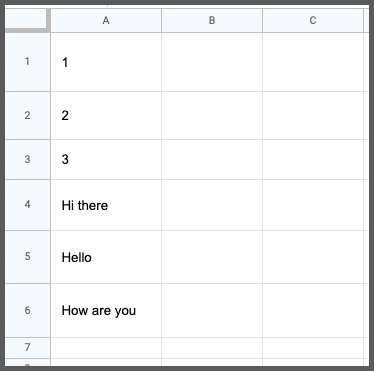
Step-1: Select the range of cells where you want to add padding
You can select each row or column. Also, you can select all cells by clicking on the diagonal space on the left side of column A and above Row 1. You can also click on one cell and press Ctrl + A on a PC or Command + A on a Mac.
Step-2: Go to the custom number format from the main menu
Click on Format from the top menu, Select Number and then click on the custom number format available at the bottom of all options.

Step-3: The custom number format window will appear. Here you can define custom formatting for the cell
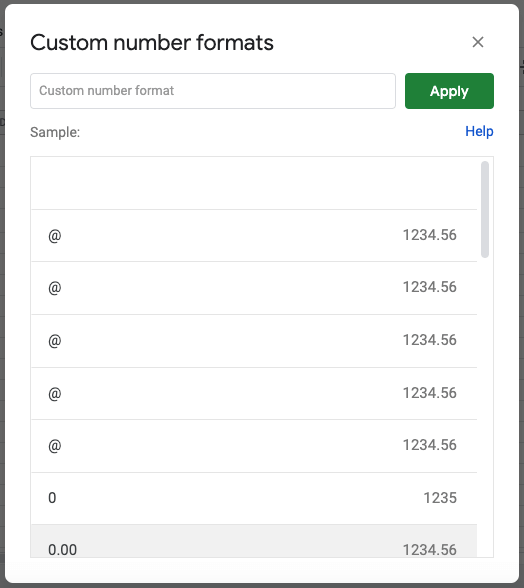
Step-4: To add right and left paddings, you need to enter spaces in the input field.
This means, that if you need 1 unit padding, you will enter “ @” and for two units, you will enter “ @” and so on.
Here I will enter a couple of spaces and then write the @ symbol.

Click on Apply.
Now you can see the cell formatting has changed. Google sheet has added 2 spaces at the left and right sides of the text in the cell.
This is how you add horizontal paddings in google Sheets.
Google sheets cell padding – Vertical cell padding
Vertical paddings are the ones that add padding at the top and bottom of the cell value.
To add vertical paddings, you do not need to create any custom format but you can adjust the cell height. Here are the steps:
Step-1: Select the cells where you want to add vertical paddings. You can select all cells by clicking on the top left square before column A or by selecting one cell and pressing Ctrl+A in PC or Command+A in a mac
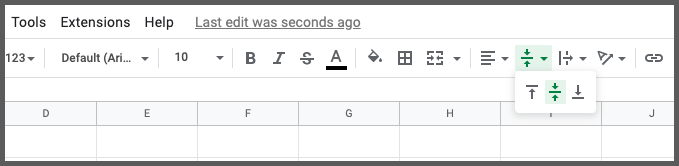
Step-2: From the top menu bar, select the vertical-align icon button. From the options available, select “Middle”
This will position the text inside the cell vertically at the center.
Step-3: Next to the vertical-align icon button, select the “Text wrapping” button. Make sure either the “Overflow” or the “Clip” option is selected.
This is to ensure that you are not wrapping the text in the cell.

Step-4: Now change the height of your rows by following these steps:
- Point your mouse to a row grid line at the default row numbering section
- The mouse cursor will change to a top head arrow
- Click and drag the row gridline to adjust the amount of vertical height you need
Here is an animation:
Step-5: Now your rows will be bigger in height while the text inside them aligned to the vertical center. This would create an illusion of vertical padding.
You can adjust the row height by dragging up and down as per the vertical padding you need.
So this is how you will add vertical padding to a cell.
Remove paddings
To remove the padding from a cell follow these steps.
Google sheets cell padding – Remove horizontal padding
To remove the left and right padding from a cell, you have to remove the custom formatting from it. To do so, you can go to the custom formatting window and remove the typed characters from the input fields.
A quick method is to select all cells that you want to remove horizontal padding, then click on Format > Number. From the options available, select Plain text even or Automatic even if it’s already showing a checkmark before.
This will remove your paddings from the left and right sides.
Google sheets cell padding – Remove vertical padding
To remove vertical paddings, follow these steps
1. Select all cells that you want to remove from vertical padding
2. Point your mouse to the left-hand side where default row numbers are displayed
3. Double click on any row grid line
4. This will fit the cell height based on cell content height
5. To remove vertical alignment, you can adjust it from the options available in the menu bar
Here is a quick animation showing the same:
FAQ
What is cell padding in google sheets?
Padding means adding a margin to the content. Cell padding in google sheets applies margin to the cell content. It can be horizontal padding or vertical padding.
How to wrap a cell in google sheets?
To wrap cell content, select the cell which you want to wrap and select the Text wrapping icon from the top menu bar. Then choose the Wrap option from the drop-down.
What is google sheets zero padding?
Zero padding means no margin to cell content in google sheets. It means the content in the cell fits exactly to the cell borders. You can do this by removing any vertical and horizontal padding of a cell.
Wrapping up
In this tutorial, you learned how to work with google sheets cell padding. Cell paddings are one of the important styling elements for great data visualisation and reporting. Though there are no direct methods to adjust the padding, you can use the workaround methods we discussed here.
Go ahead and try these methods to adjust your google sheets cell padding. Let us know your feedback in the comments section.
Appendix
[1] Custom format number in google sheets – Link
Further Reading
New to google sheets ? Start here
Learn Enter & Format data in google sheets:
